
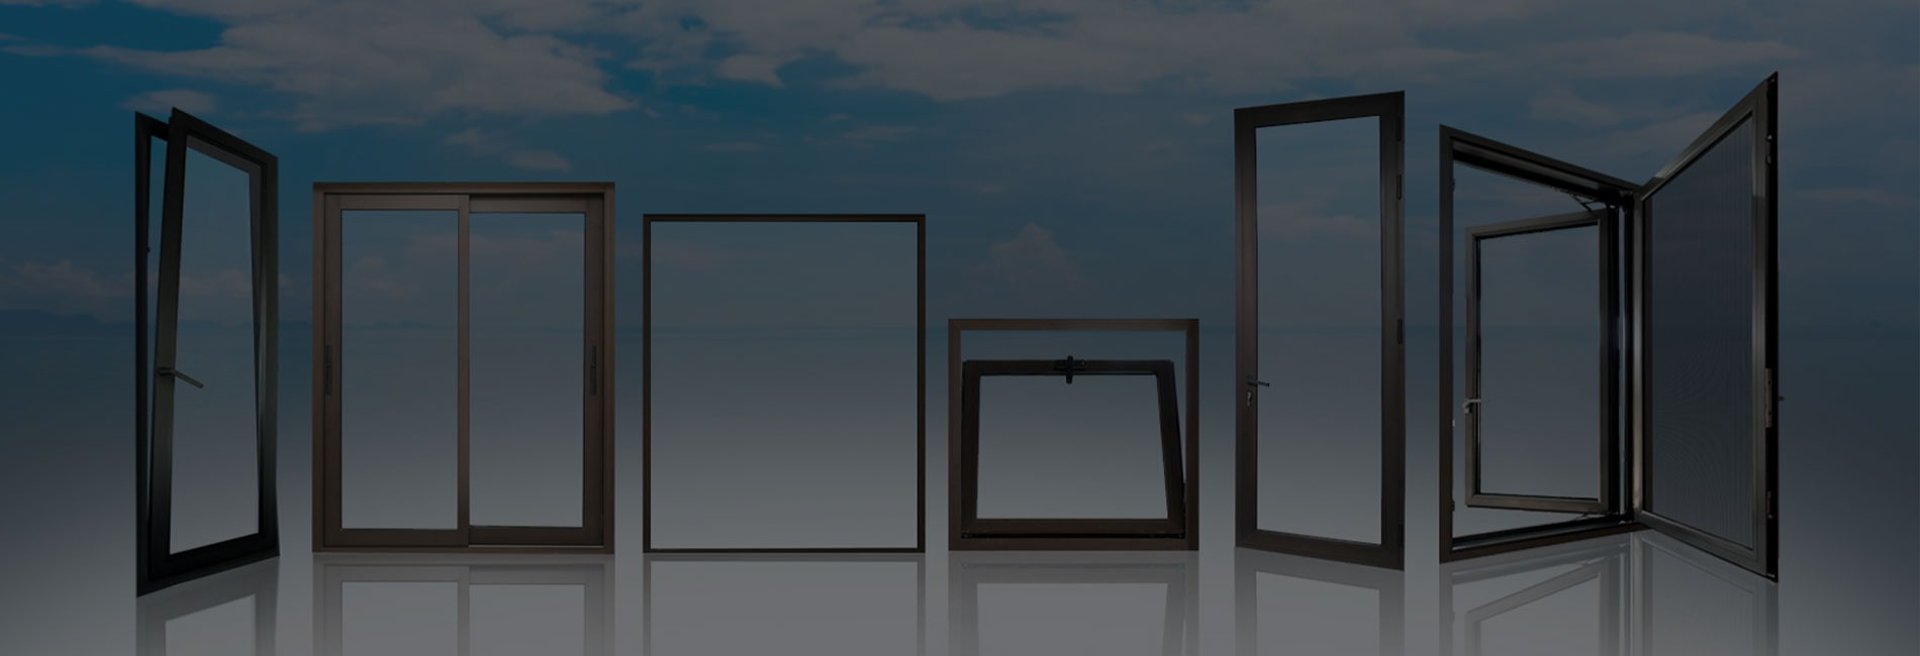
Our products
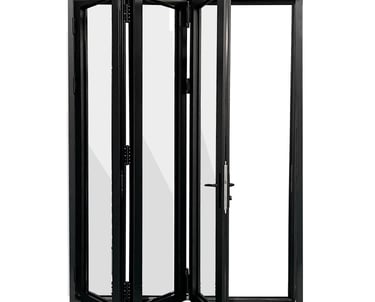
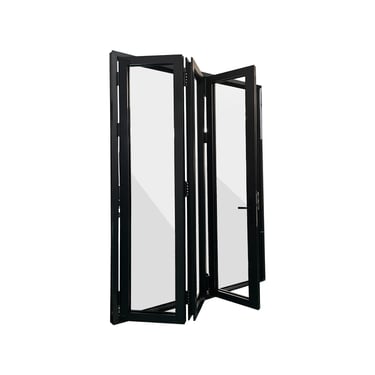
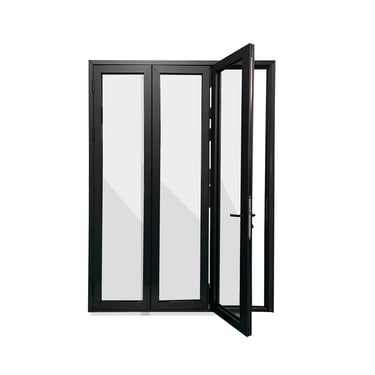
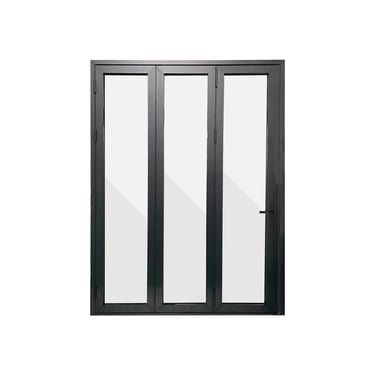
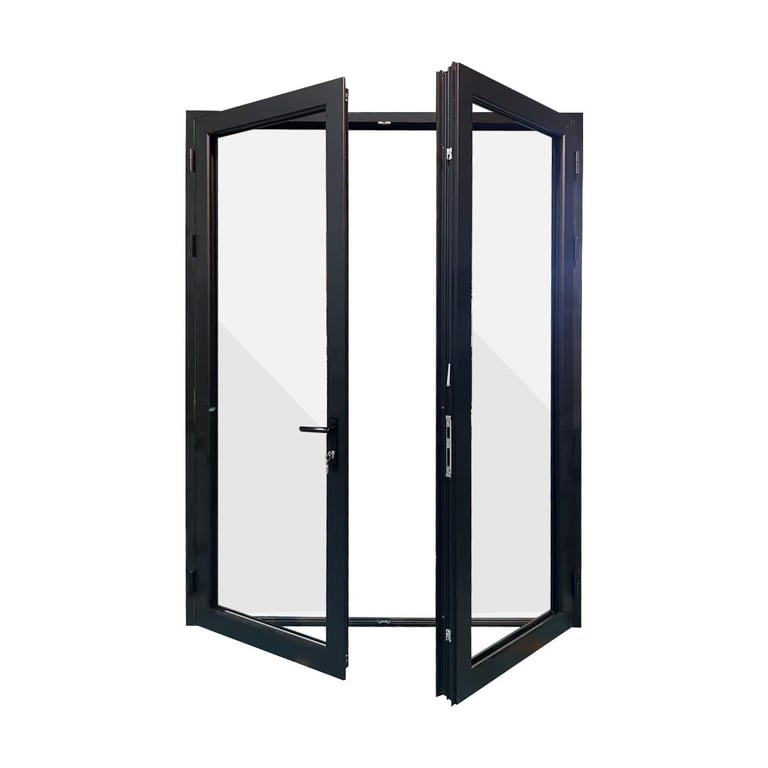
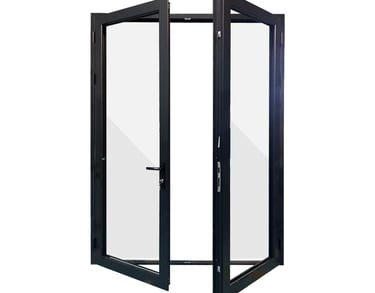
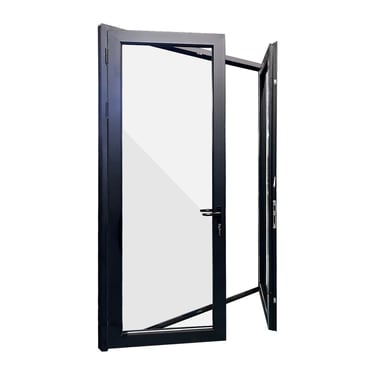
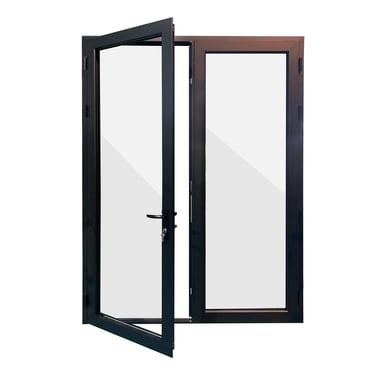
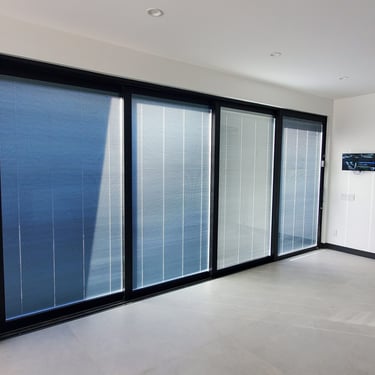
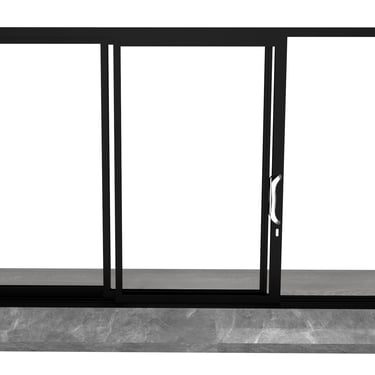
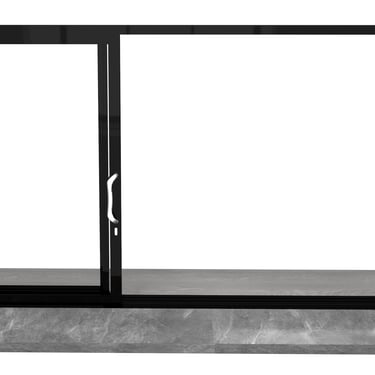
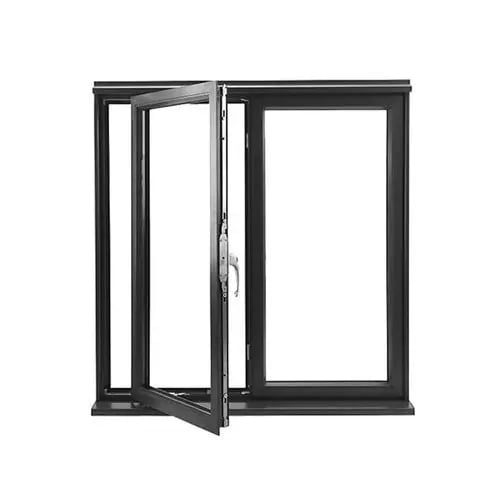
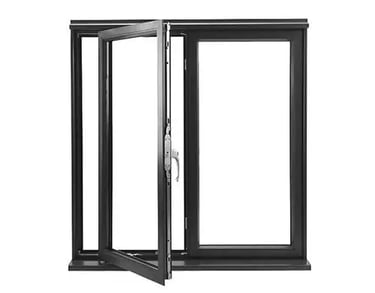
HZD80
Aluminum Bi-Folding Doors
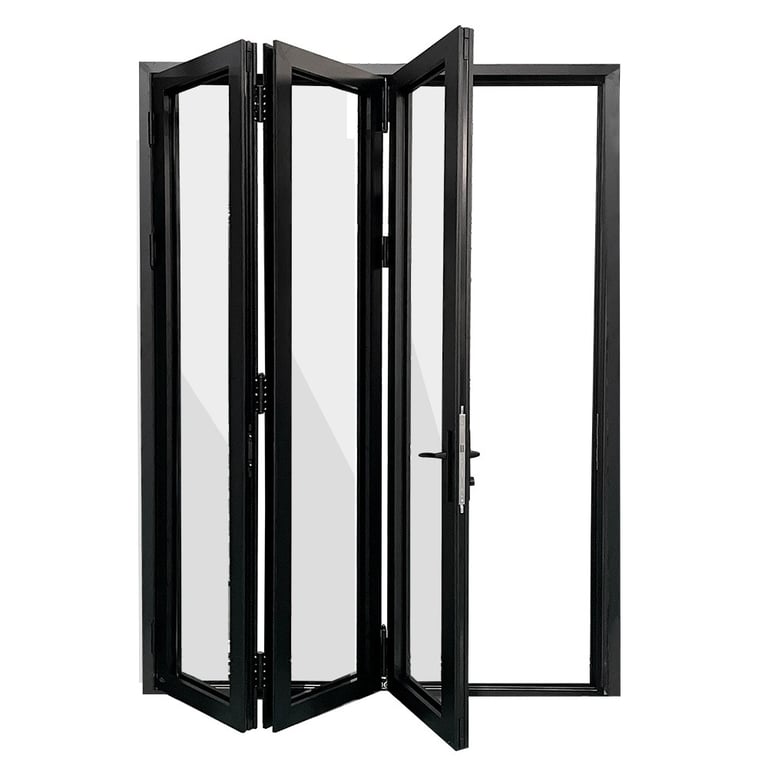
Each window is specially equipped with convenient installation and flat surface, which can be adjusted according to different glass configurations.
Complete rubber strip ring endures good overall sealing performance, high installation efficiency, and attractive appearance.
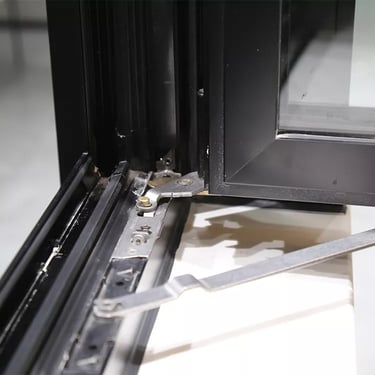
Strong connection between connector and profile card together with stainless steel pin fasteningslot ensures good sealing performance, flat appearance, even high wind pressure areas can use reinforced aluminum.

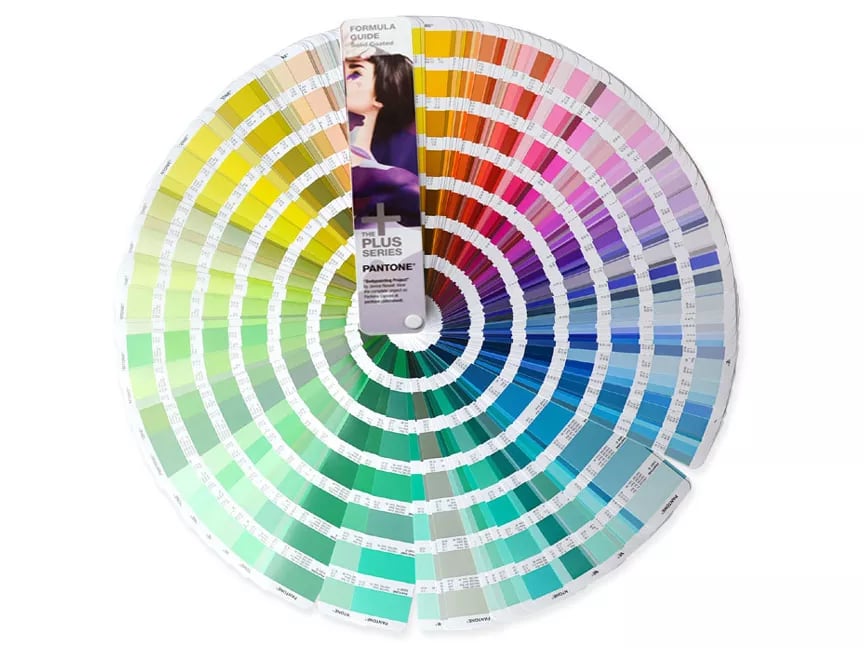
Color
white, gray.
Functions
Economic, Heat & Sound insulation
Glass option
Single glass: 5,6,7,8mm Tempered Glass
Double glazing: 5+ 9/12 +5mm Tempered Glass
Laminated glass: 5+ 0.38/0.76/1.52PVB+5mm Tempered Glass
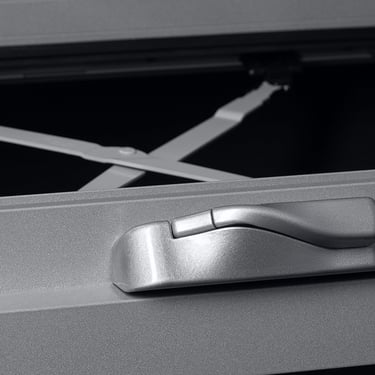
Hardware
China Top Brand
Germany Brand
Customized
Fly screen
Stainless steel security mesh
Fiberglass fly screen
HD60\HD65\HD70\HD75
Aluminum Entry / Unequal double door


HTW80
Material feature
High quality profile:
The profile is made by technique of 6063-T5, hot extrusion and cooling at 185 degree for 4-5 hours makes the structure stable and durable.
Core code:
Glue injecting makes the intensity and tightness much higher than common aluminum connection. High precision angle connection-it makes up for the painting flaw and ensures the appearance smooth and waterproof.
Window feature
Slide smoothly, space saving and easy to clean.
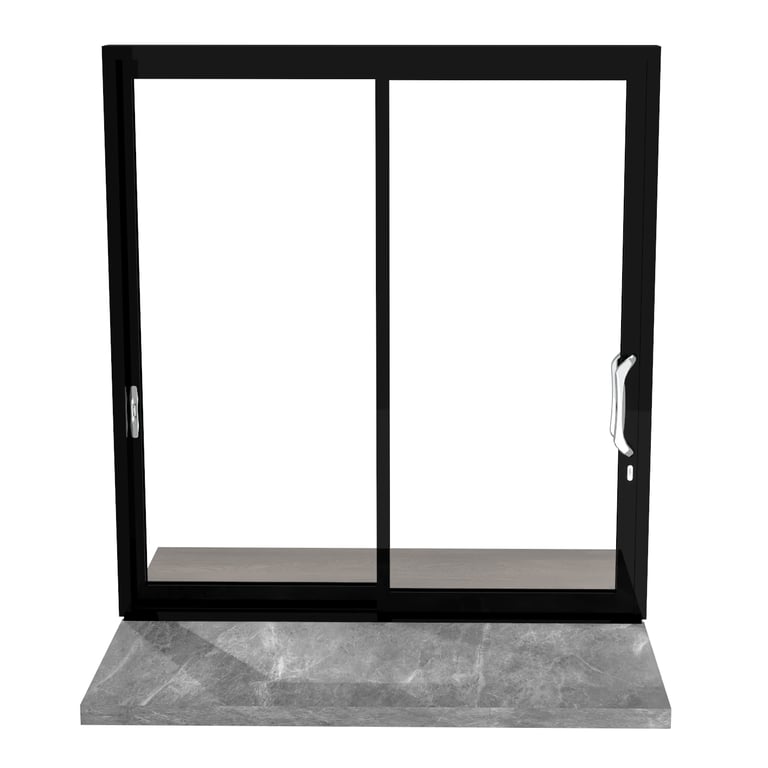
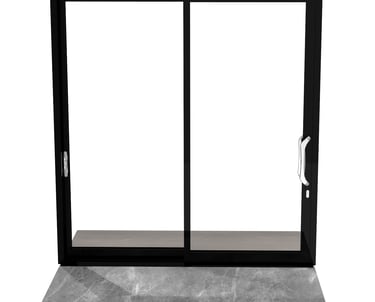
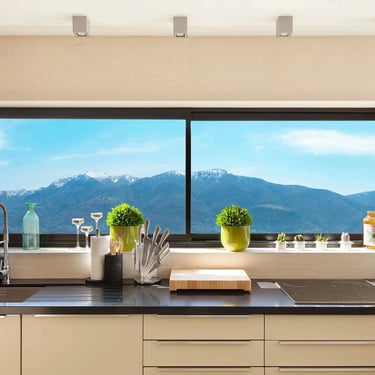
Aluminium Sliding Windows and Doors
Glass thickness:
It can satisfy different thickness requirement.

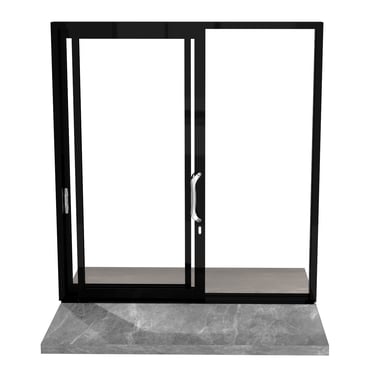
Excellent sealing performance;
Can be locked at anywhere, safe and ventilate;
Maximum bearing 400kg, can achieve large size doors and windows
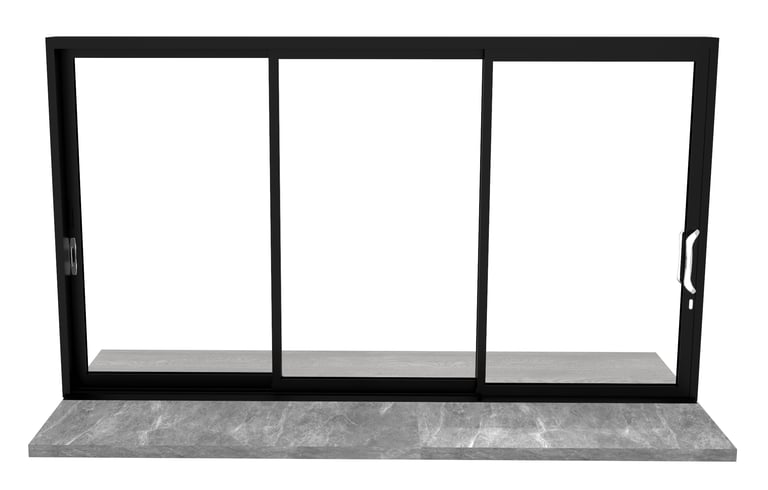
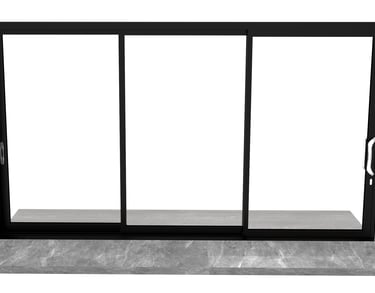
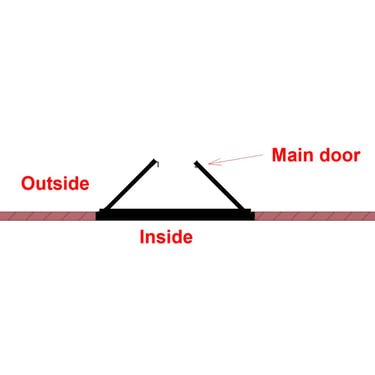
HTSD120
Aluminium Lift—Sliding Doors
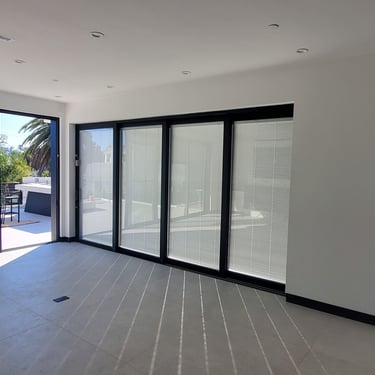

Wind Load resistance: 4000Pa
Water tightness: 500Pa
Sound insulation: 32~40dB
Uw: 1.8~3.2 W/m²·K
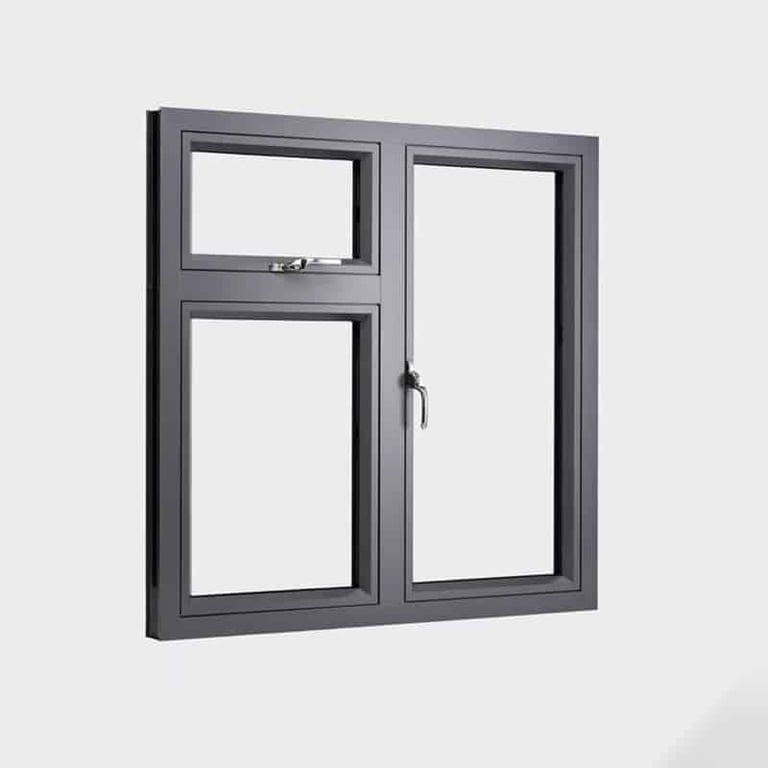
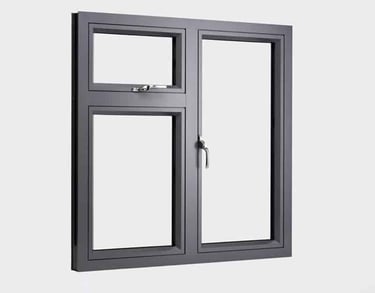
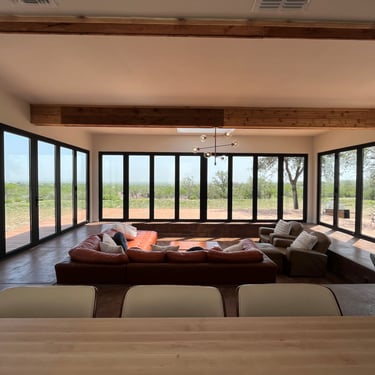
HW60\HW65\HW70\HW75
Aluminium Casement Window
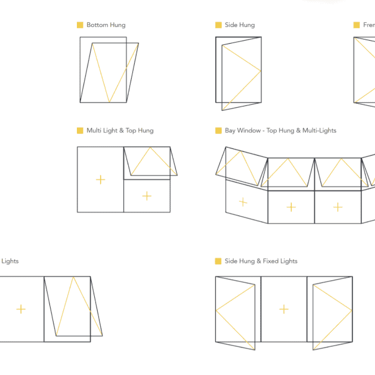
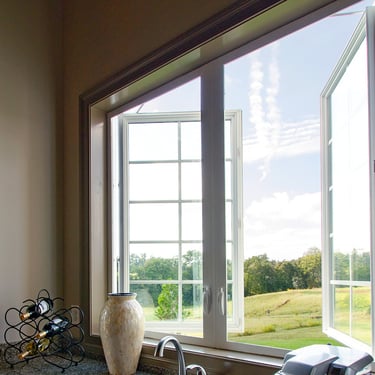
outward/inward/Turn&Tilt/Euro Awning Window
HW80
Chain Winder Awning Windows
outward/Euro Awning
Color
• Aluminum profile coating options: Power coating, PVDF painting, Anodizing, Electrophoresis
• Common painting color: Dark Night Green, Starry Black, Matte Black, Ore Grey, Volcanic Brown, Paris Silver Grey, Berlin Silver Grey, Morandi Grey, Roman Silver Grey, Soft White
• Popular color: wood, copper red, dune, etc.
• Choose factory-prefinished colors for fast delivery, or customized colors to better match your project.
1. Standard for Storage and Transportation of Windows
I . Windows shall be placed in clean and flat environment, and protected from sunlight and rain,and shall not come into contact with corrosive substances;
II. Windows should not be in direct contact with the ground,and placed vertically with a vertical angle not less than 70°. The protective film should wind the body of windows,and stow-wood should be placed under them,and anti-dumping measures shall be taken;
Ⅲ. The distance between windows and heat source shall not be less than l m, and time cost for windows installation on site shall not exceed two months;
IV. When loading and unloading windows, handle them with care, do not pry, throw, fall or lift them. The surface of the windows shall be padded with non-metallic soft materials, and the outer edge of the windows shall be firmly and stably supported. Lifting rods shall not be inserted into the frame fan for lifting.
2. Preparation before Window Installation
I. Material Preparation
a) review the specification, model, quantity, opening direction and form of aluminum alloy windows to be installed to see if they meet the composite design requirements and have the certificate.
b) Check whether quality and appearance of aluminum alloy windows meet the design requirements.
c) Check whether the specifications, varieties and quantities of various installation accessories are matched and meet the construction requirements.
II. Preparation of Installation Equipment
The main machines and tools for installation shall be complete and effective, such as electric drill, tape measure, level gauge, etc.; (Measuring tools shall be checked regularly and replaced in time when they fail to meet the requirements. )
III. Confirm installation location
a) The construction quality of installation openings shall meet the acceptance requirements of corresponding standards, and the deviation of size of the hole shall be within the control range.
b) The location and elevation of the opening shall be approved, and necessary corrections shall be made in case of any discrepancy or deviation from the design drawings.
Ⅳ. Before installing windows,ensure the following conditions have been met the requirements.
a) The quality of structural engineering has been passed the acceptance check.
b) The location and dimensions of the window openings have been checked, or repaired to be qualified.
c) Management personnel have made disclosure of technology, quality and safety.
d)Windows,accessories and auxiliary materials have all been transported to the construction site.
e) All kinds of installation protection measures are complete and reliable.Note: Some types of buildings require licensed construction practitioners.
3. Installation
Step 1:Preliminary CheckThe installer should examine and confirm that the sill trimmer is essentially level, straight and free of twist before proceeding with the installation and preparation of the wall. straight and free of twist. It is particularly important that it is well secured and does not slope toward the interior of the building.
Step 2: Underlay preparationPrior to window installation:Flexible wall underlay shall be cut anddressed into all sides of openingsa. Cut the building underlay at 45° away from each corner.b. Fold the flaps tightly into the opening and secure to the framing on all sides.Trim off excess underlay after fixing
Step 3: Flexible Flashing Tapea. Cut the flashing tape for the sill at least 200mm wider than the opening.b. Fit the tape, as described in the manufacturers literature, with the inner edge of the tape flush with the inside line of the framing, so that it extends a minimum of 100mm up each jamb ensuring timber framing is covered.c. Ensure the tape is securely adhered to the underlay on all surfaces and fits tightly intoeach of the corners.d. Cut two more pieces of tape at least 200mm long and fit into each of the upper corners as described above ensuring timber framing is covered.
Installation Guide
Get in touch
Showroom
114 Sunnybrae Road, Hillcrest, Auckland 0627
Contacts
022 5678 606
027 666 0998
info@shangda.co.nz